CLICK HERE FOR FREE BLOGGER TEMPLATES, LINK BUTTONS AND MORE! »
Showing posts with label Tutorials. Show all posts

Sock Doughnut


What do you do with all of those mis-matched socks?

Well... you make doughnuts of course!


This is the tutorial I used. Follow her instructions and you should not have one bit of trouble.

I just recently went through all the socks in the house. We had WAY too many and they need to be scaled down and dealt with. I ended up with a whole pile of socks. Granted you don't want to make 20 doughnuts but this will at least get rid of some of them. The ones we made have been added to the play food in the tea set.

This is a great project for a beginner sewer. I let my 5 yr old sew on the beads. :)

Back To School


Things have been nuts around here. My little one just started Kindergarten! It has been exciting and stressful all at one go.

To celebrate her first day of school I made her a pencil cake! Now forgive me cause I did not take pics of the whole process (wanted to get it done before the bus brought her home) but I did make a tutorial :) 


Mix up your cake mix and bake in 13x9. Let cool

Cut cake to match picture. You can cut it all the way down long ways to make it skinnier (more like a pencil). Or you can just hack off two of the corners. Ice the whole cake and place in the freezer for about 10-15 minutes. It does not have to look pretty.


Tint icing pink, yellow, and black. Place it on cake according to pic. 

Add black accents to seperate sections
and VIOLA! Back to school cake :)


Fleece Blankets

Fleece blankets are a great gift idea. I am in the middle of putting together a baby present and decided to add one to all the other stuff I am making. I was able to find fleece for $3 a yard. For a baby blanket you only need one yard. I just fringed the end of mine. You can also knot or braid the ends. Some people do a printed fleece and a plain and knot them together to make a thicker blanket. I found a wonderful tutorial for anyone who would like to watch one being made before they tackle their own.


Felt Tree Ornaments

These were super duper easy. I bought one sheet of sparkly green felt. I cut out simple triangle trees with small trunks. Then we glued sequins on for ornaments. To hang them I glued a loop of ribbon the backs. 


Poinsettia Ornaments

I used this tutorial for stained glass poinsettia ornaments we made. They came out beautiful but they were a little difficult to make I do not think I will be making them again.

ignore the wet glue. it dried clear :)

Puzzle Piece Ornaments

One of the most wonderful things about crafting is getting to make something for a very small price. This ornament can be made with puzzle pieces. I bought a 100 piece puzzle from the dollar store and used it, however if you have puzzle that you have lost pieces to you can recycle it. I laid all the pieces out with the printed side up. 


Then I used a paper towel to cover one side while I sprayed the other. 


Ta-Da. Let these dry completely. I let them sit for several hours.  


Glue them together in different shapes. I used hot glue, but regular old school glue will work if you are patient enough for it to dry... I am not.  


Final touches, glitter for the snowflake, stripes for the candy cane, bow and holly berries for the wreath.  Glue a ribbon loop on the back for hanging. 


Bottle Cap Snowman Ornament

These little guys are made out of bottle caps. I saved them from my dad's beer bottles and my Smirnoff :) You can also buy them at craft stores. If you buy them from a craft store you can purchase white. If you recycle your own you will need white spray paint (99cent). I did not spray the flat side.... lay them upside down. So they should look like little bowls before you spray paint them. There are many tutorials out there for these guys, some are elaborate and have hats and scarfs. I made ornaments ALL day... I was going for done.. not astounding. These were actually really easy. I would say this is an older child craft, it takes hot glue and a steady hand. I did not let my 4 yr old help.

Spray paint bottle caps. Let dry.
After your caps are dry, you will need - black ink pad (optional), black and orange paint, 2 paint brushes, a push pin, hot glue, and white ribbon (not pictured)


I used the bottom end of one of the paint brushes as a stamp for the eyes. A small paint brush for the carrot nose and a sewing pin or a jewerly pin for the small dots of the mouth and buttons. To define the edges a little you just need to barely touch them against the stamp pad.


To hang them, I turned them over and glued a ribbon down there back and left a little loop at the top. 

Candy Corn Foot!

Trick or Treat. Smell my feet!

This was a cute and easy little craft and I managed to make it educational by having her review letters and practice handwriting! Woot Go Mama! lol.

Paint the little ones foot to look like candy corn and then stamp it down. Then write down the phrase, even Happy Halloween would be cute.


3 Healthy Steps!

Zoey has many different cartoons that she really enjoys. One of them is Special Agent Oso. The great thing about Special Agent Oso is that he goes around helping children and teaching them the 3 HEALTHY STEPS to whatever task it is they are trying to complete.

She saw this video and has been begging me to make juice pops. :) So that is exactly what we did. The video goes a little fast and leaves out an important step so for those of you who have never made juice pops it is REALLY easy.

STEP 1
Find, Get, Buy, Wash.... Obtain an ice cube tray :) lol.

STEP 2
Pour in the juice AND (this is the part they left out) cover in plastic wrap.

STEP 3
Insert toothpicks and freeze :)

Halloween Wreath

Here is a fun fact: I am broke. (like everyone else)

So when I decided to decorate for Halloween I knew there was going to be A LOT of creativity involved. One of the best things to decorate with. A WREATH! Even if you are running behind and haven't decorated anything else it at least makes you look like you are on it :).

 I will not lie. This was not a quick project. I have never made a wreath before and some of it I did not think all the way through.

Materials:
Pipe insulation (big long foam tube with a slit for wrapping around pipes)
Duck tape
Assorted paints / glitter glue
Old T-shirts
Interfacing (Iron on)
Tulle (Ribbon will work just fine)
Hot Glue
Cardboard (I used old toilet paper rolls)
Popsicle sticks


First off make your wreath. Secure pipe insulation in a circle with duck tape. I went ahead and wrapped duck tape around the whole thing just to make it a little more durable.


Now. Cut up some fabric or a old t-shirt and wrap it around your wreath. 


Iron on interfacing to your other shirt or fabric. Fold in half. Draw half a bat on the interfacing and cut out. (Just like you learned how to do in elementary school with the hearts)


My bat was droopy. I tried I really did. I even painted him with Mod-podge and then with a glittery black paint, but he would just not stiffen up. So I added popsicle sticks to his back to strengthen him. Then hot glued him to the wreath.


Now... I was supposed to be done at this point. But I didn't like it. It was just missing something. A pop a color... some glitter... something.


So how about both. Toilet paper rolls cut into letter E-E-K. Lime green paint and glitter.


TA-DA! Finally... a wreath :D (hoping my next one goes a little smoother.)
Popsicle Stick Puzzle #1

These came out okay, but they could have been better.

Some things I will do different next time.

  • Thicker paper instead of coloring book paper
  • Colored pencils and not markers (markers made paper soggy)
  • Wait until the glue is dry before cutting the sticks apart (you will see the smudges, lol)


Here is how you make popsicle stick puzzles.


What you will need:
  • Picture
  • Elmer's Glue
  • Scissors and Exacto Knife - not pictured
  • Popsicle Sticks
  • Crayons, Markers, or Colored Pencils
  • Sharpie - not pictured


I picked out a picture I like. You might want to print small pictures out on cardstock or draw your own instead of using coloring books.


Flip the pictures over and glue each popsicle down leaving a small gap in between the sticks so that you can use the exacto knife to cut them apart later. 
              

After I cut both of them apart I flipped them over and numbered them with a sharpie. 


Dying Rice

I have decided that we are going to make a rice rainbow for the letter R. I just needed to learn how to dye rice.

It was SUPER simple and with minimal mess :)


For each color you are making you are going to need:

  • 3/4 cup White Rice
  • 1 Tbsp of Rubbing Alcohol
  • 2-5 drops of Food Coloring
  • Sandwich Size Ziploc Bag
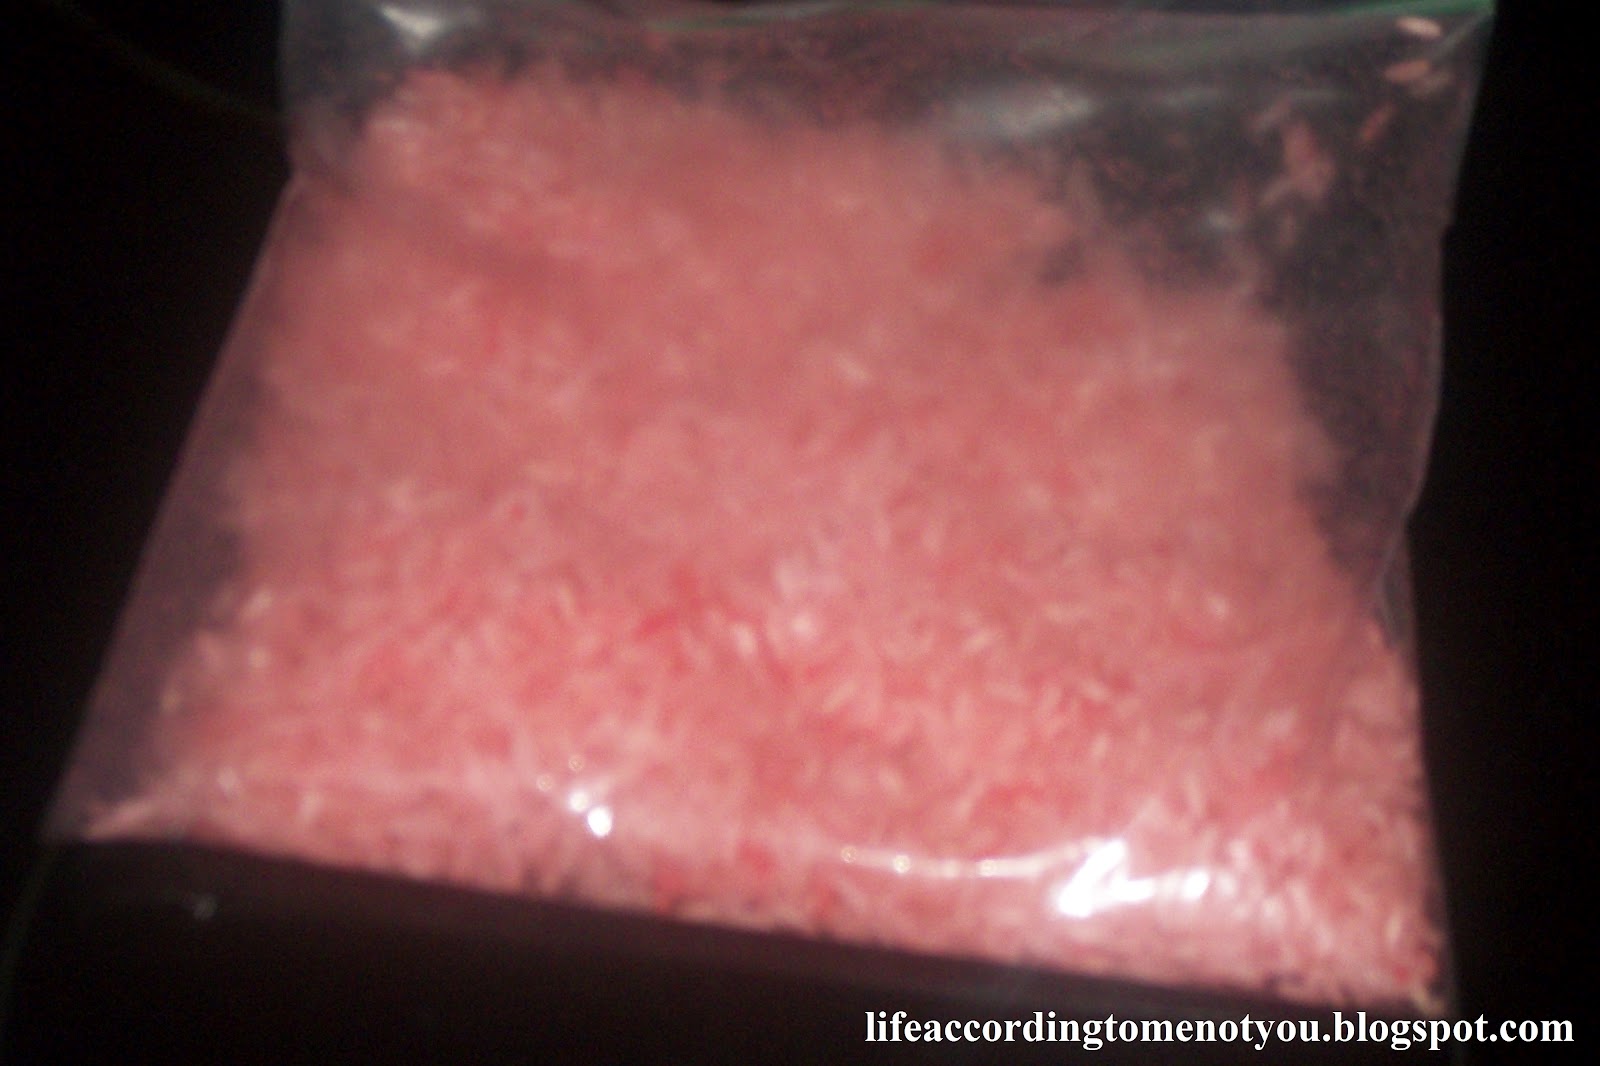
1. Combine Rice, Alcohol, and Food Coloring in Ziploc Bag. For pink I used 2 drops of red. Shake bag until ALL the rice is colored. 

2. Poor rice out in a single layer so that it can dry.

3. Store in a ziploc bag or other container. These were my first batch. I am actually very happy with how pretty the colors came out. :)

We made a Rice Rainbow for our lesson on the letter R. You can see it here.


Related Posts Plugin for WordPress, Blogger...